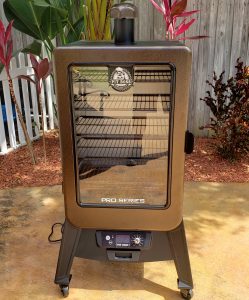
Pork Shoulder Burnt Ends in the Pit Boss Pellet Smoker
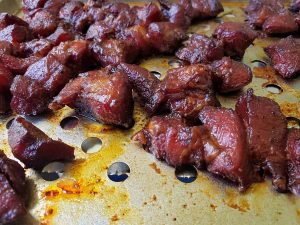
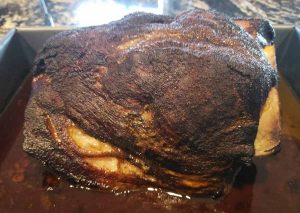
I have never really heard of Burnt Ends until this year. A few of my friends were talking about how they enjoyed eating them but they where hard to find at some of the local Barbecue joints around our area. First of all what are Burnt Ends? Burnt Ends are made from the point part …
CONTINUE READINGPork Shoulder Burnt Ends in the Pit Boss Pellet Smoker